
Raytracing 101
Most of this information is applicable to any 3D raytracer, but here 3ds Max's default scanline renderer is used as an example.
How raytracing works
Raytracing is used to create shiny reflective surfaces, like a mirror or a metal ball, or see-through objects that refract light. Essentially, it simulates how a light particle would move.
However, unlike how real like moves, raytracing traces the light backwards. The diagram below shows how a reflective sphere would be simulated.
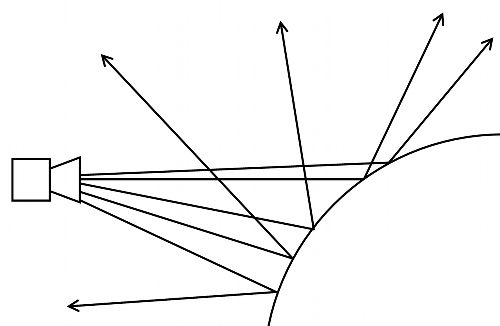
For every pixel on the screen that shows a raytraced object, the renderer shoots one ray (unless you use supersampling, explained below.
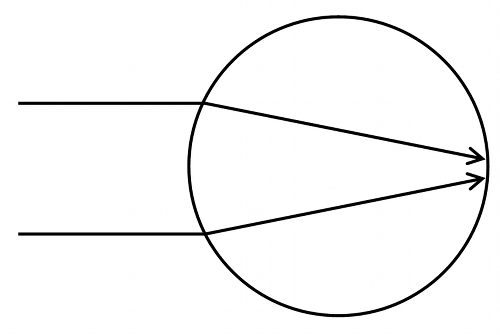
Refraction is also another important part of raytracing. It simulates how light would bend through glass or some other clear material. Refraction is controlled through a material's IOR (index of refraction). A value of 1 means there's no bending (vacuum). Glass has a value of 1.55. Air has a value of about 1.05 (very little bending, almost unnoticeable). The formulas you learned in your high school or college optics course apply here.
The renderer draws reflections and refractions by first rendering a Reflect/Refract map and then overlaying it on the object's diffuse color.
Anti-Aliasing and Defocusing
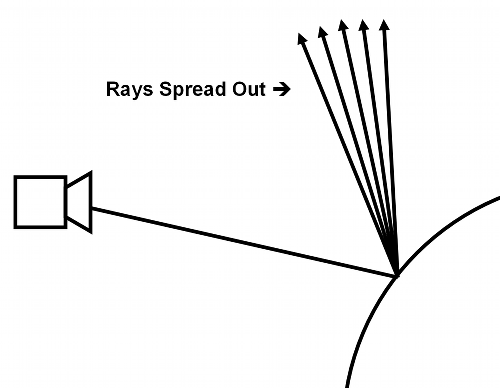
Normally, the renderer only shoots one ray for every reflective/refractive pixel on the screen. This may be okay, but for high-detail images, it'll make everything jaggy because one ray per pixel may not be enough for fine details. To anti-alias reflections, the renderer must shoot more rays. This can also be used for defocusing. If a surface is not a perfect mirror, then distant reflections will become blurry. As the rays leave the objject, they spread out.
Obviously, shooting more rays requires more processing time, because the renderer must compute multiple rays for every pixel seen.
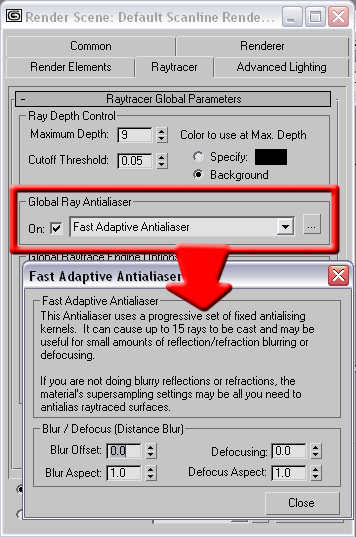
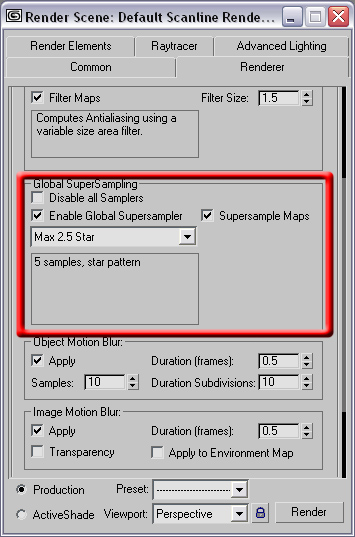
If you're not doing blurry reflections/refractions and just want to make the raytracing smoother, then you can just use SuperSampling, available in the Rendertab of the Render dialog window.
Hopefully, after reading through this, you have a better idea of how raytracing works and you can better take advantage of a raytracer's features.
blog comments powered by Disqus