
Reactor cloth
This tutorial shows you how to take advantage of reactor's physics simulations to make cloth. Reactor can calculate how cloth moves and bends, allowing us to easily create realistic cloth.
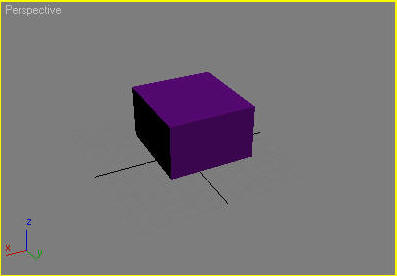
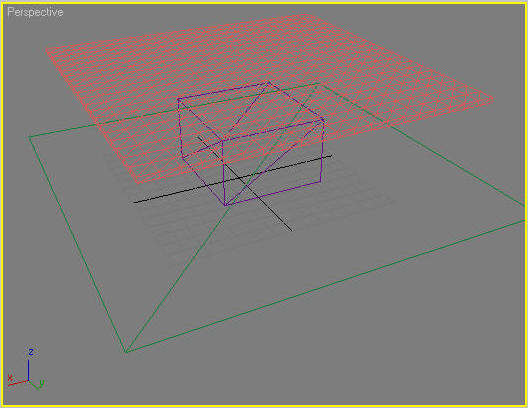
Open up 3ds max. For starters, we will make a box to draped the cloth over. Create a box in the perspective viewport.
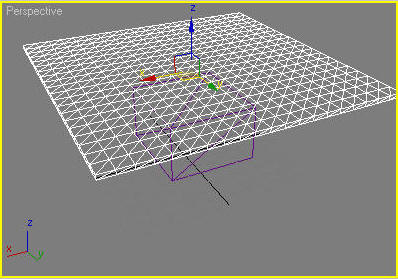
Next, we will make the cloth geometry. Make another box object that's pretty thin, but a lot bigger in width and length than the first box. Move it above the first box. Change the length and width segments to 20 each. (If your computer is slow you can get away with 10-15).
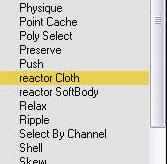
This is the cloth object. To get reactor to use it, you have to apply a cloth modifier. Go into the modifiers and choose Reactor Cloth.
You can keep the default settings. Now, we'll make a ground plane for the cloth.
Now, all that's left to do is to add the objects to collections. Reactor collections are a group of objects that will be included in a simulation. Essentially, an object has to be part of a collection to be used in reactor.
 Select the plane and the small box (not the one that will be the cloth), and click on the Rigid Body Collection icon (3 cubes). The two objects will automatically be added to a new rigid body collection. Do the same for the cloth object. Select it, and add it to a new Cloth Collection (T-shirt icon).
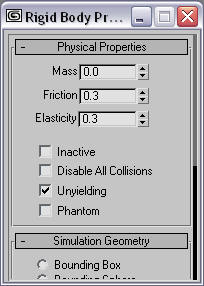
 The plane needs a couple more settings. Select the plane, and click on the properties icon in the reactor toolbar. Check the Unyielding checkbox. Also, in the Simulation Geometry settings, change the type from Convex Mesh to Concave Mesh, because the plane is totally flat.
 Now, simulation is read to go. Click the Create Animation icon in the reactor toolbar. When it's done calculating it, you can play the animation. Alternatively, you can use the Preview button, pause it at a stage you like, and then update the scene.
If you do render with shadows, or look in the front/side viewport, you'll notice that the cloth may be floating above the plane. Just move it down a little. This is affected by the Collision Distance property in reactor, which controls how close objects have to be to be considered touching. You can just manually move the cloth a bit to make it look like it's lying on the ground.
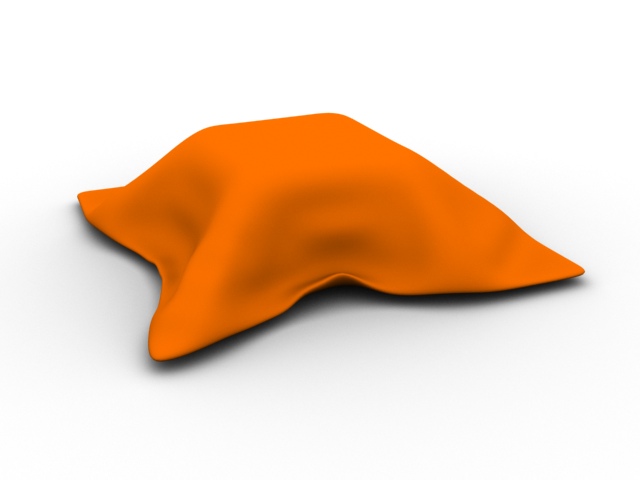
To make the cloth smooth, you can apply a MeshSmooth modifier after the Cloth modifier, so you can simulate with the coarser mesh but end up with a smooth cloth.
I used an early frame to render, because the later frames, after it bounced around, were messed up. The early one is when it just hits.
blog comments powered by Disqus